Codigo Escuela 4.0
Article author:
Sergio PeciñaArticle published at:
January 16, 2023
Drawer menu
The purpose of this test is to adjust the amount of extruded plastic, that is to say, that the deposited material is the one we want at any given moment. It is performed to correct small variations in the diameter of the filament. The parameter that influences the flow is the so-called extrusion multiplier, with a calibration of this parameter you can solve the typical problems of under-extrusion or over-extrusion.
NOTE: For this flow calibration test to work correctly, it is necessary to have the extruder properly calibrated, the so called "steps". You can find more information about extruder calibration by the following this link.
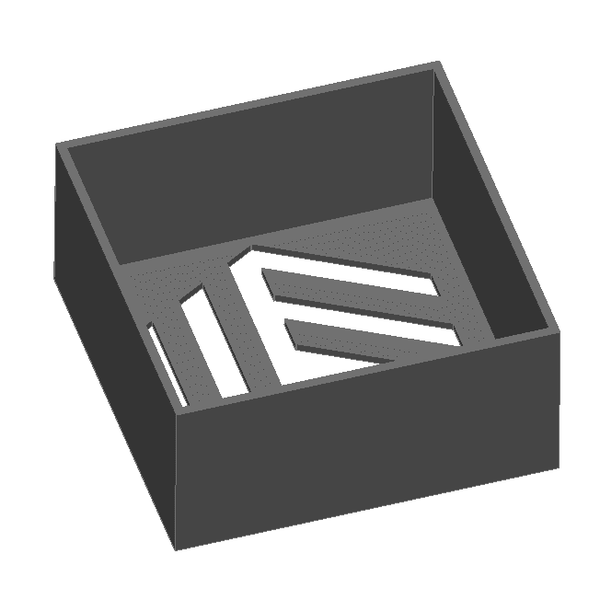
We download the following part (Flow_Test) and adjust the printing parameters as follows:

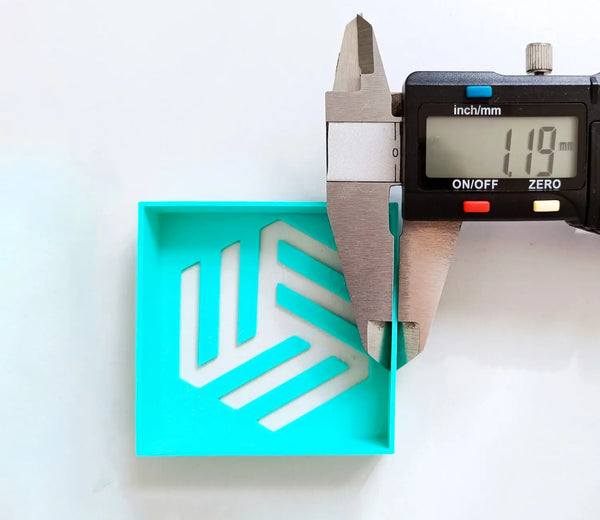
We use a caliber to measure the thickness of the four walls of the cube, then calculate the arithmetic mean of these values to determine the piece's dimensions.
With the value obtained we apply the following formula:


We introduce the value obtained in the slicer and we will have calibrated the flow of our 3D printer.
In the example piece, the following values have been obtained: 1.19 mm, 1.22 mm, 1.21 mm and 1.21 mm. So using the above formula, we obtain a correct flow rate of:

Rounding this value will be used as the correct flow 99% for future printing.