Codigo Escuela 4.0
Article author:
Sergio PeciñaArticle published at:
January 16, 2023
Drawer menu
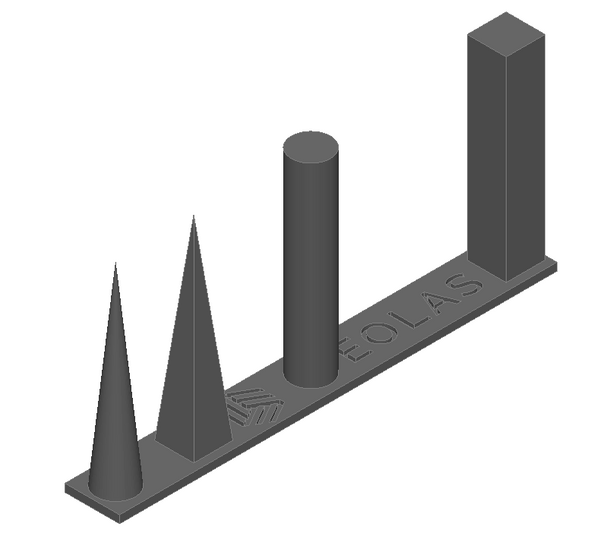
The aim of the retraction test is to achieve a "cleaner" part without material residues in the movement areas of the hotend. The slicer parameters that influence this test are mainly speed and retraction distance.
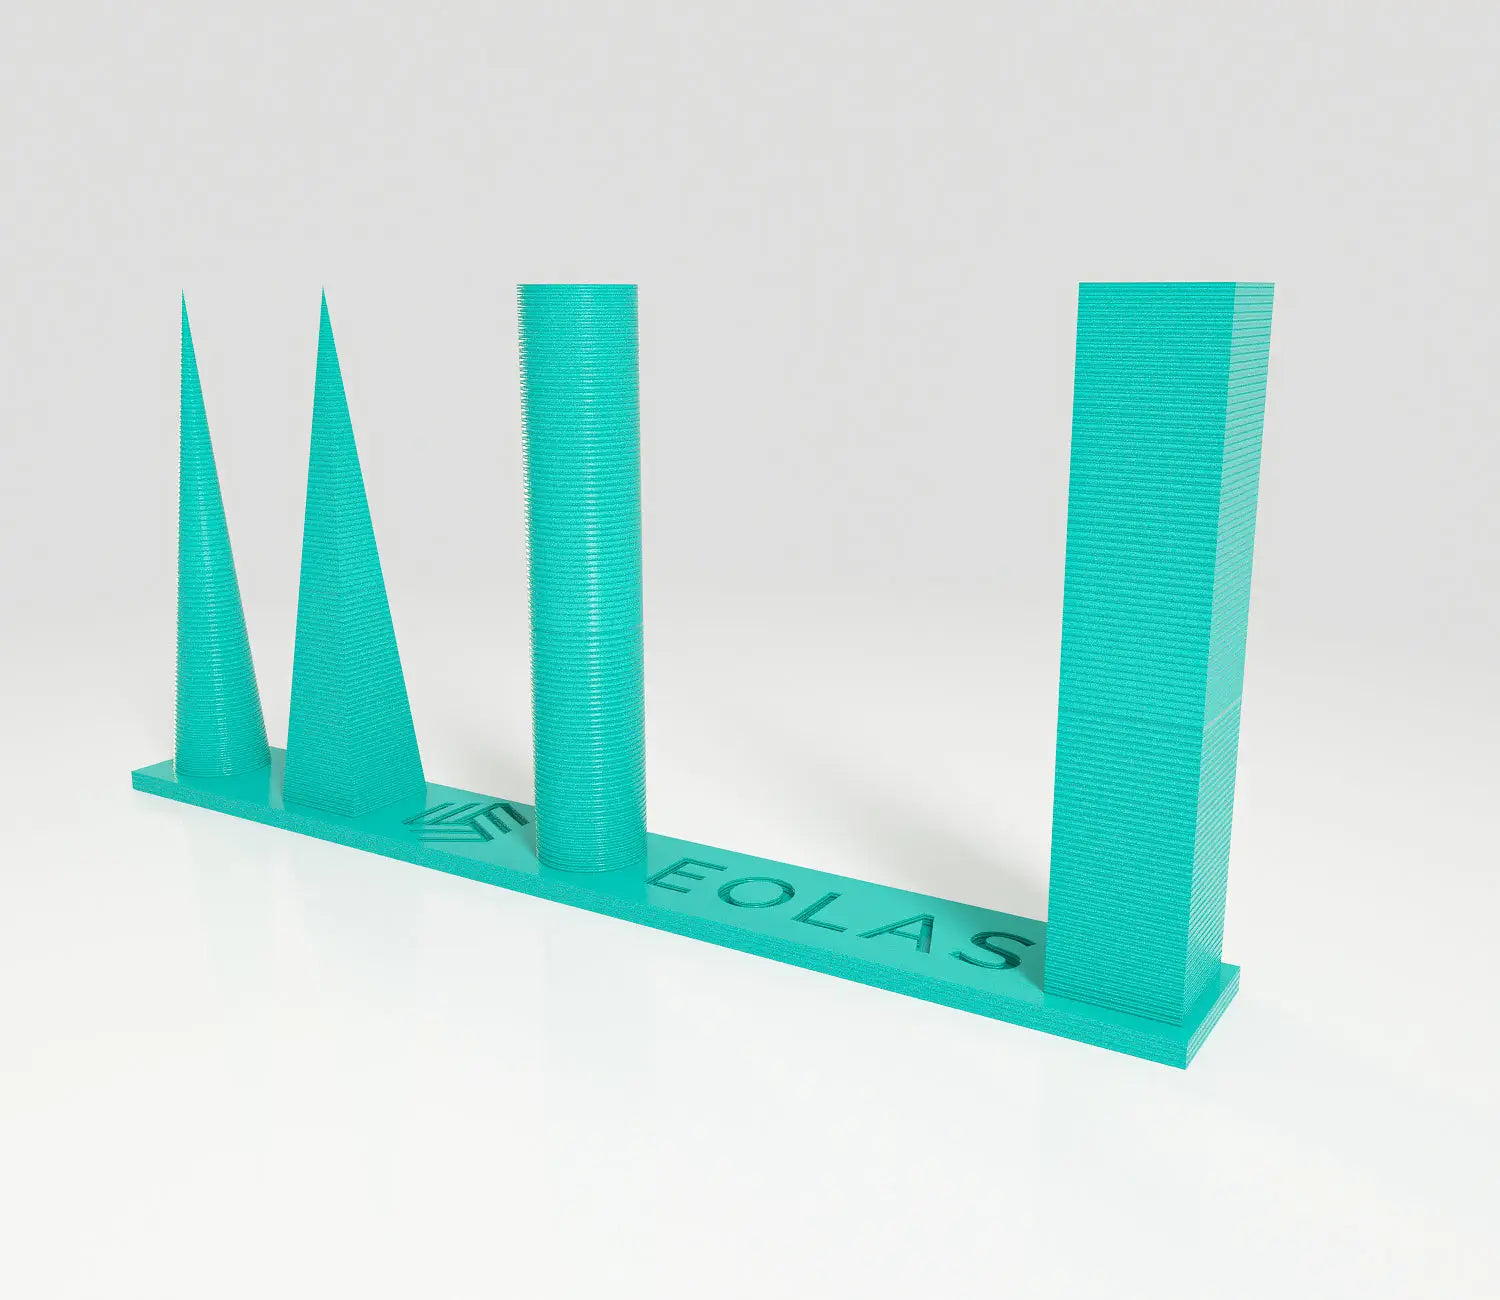
We download the following part (Retraccion_Test) and adjust the printing parameters as follows:
| Extrusion | Distance | Velocity | 3D printer |
| Short Bowden | 4 mm | 40 mm/s |
Ender 3 or similar |
| Long bowden | 4 mm | 40 mm/s |
CR10, Tevo Tornado or similar |
| Direct | 1 mm | 35 mm/s |
Prusa MK3s, Artillery X1 or similar |

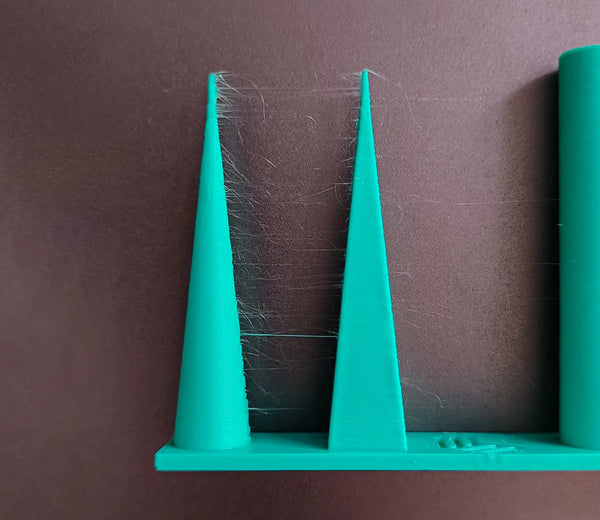
With the finished, part we observe the amount of "hairs" that have been generated between the different shapes (next image). Next, we adjust the distance between the shapes:

We print the part again using the new shrinkage data and check. Next, we do this iteration several times until there is no link between the shapes of the part and the shrinkage values are as conservative as possible (the lower the better).
In the following example, after several iterations with a Prusa MK3S the following shrinkage parameters have been obtained: 35mm/s and 0.9mm with a temperature of 205 degrees and a nozzle of 0.4mm.
