
Your cart
Your cart is empty
Continue shoppingDrawer menu

A retraction calibration tunes how far and how fast the extruder pulls filament back during travel moves, eliminating the fine "hairs" (stringing) left between separate parts of a print. You print a test piece, adjust retraction distance based on the stringing you see, and repeat until the part comes out clean. Here's the full method.
The aim of the retraction test is to achieve a cleaner part without material residue in the travel areas of the hotend. The slicer parameters that influence this test are mainly retraction speed and retraction distance. For best results, run this test after calibrating temperature and flow, since both affect stringing.
We download the following part (Retraccion_Test) and adjust the printing parameters as follows:
| Extrusion | Distance | Velocity | 3D printer |
| Short Bowden | 4 mm | 40 mm/s |
Ender 3 or similar |
| Long bowden | 4 mm | 40 mm/s |
CR10, Tevo Tornado or similar |
| Direct | 1 mm | 35 mm/s |
Prusa MK3s, Artillery X1 or similar |
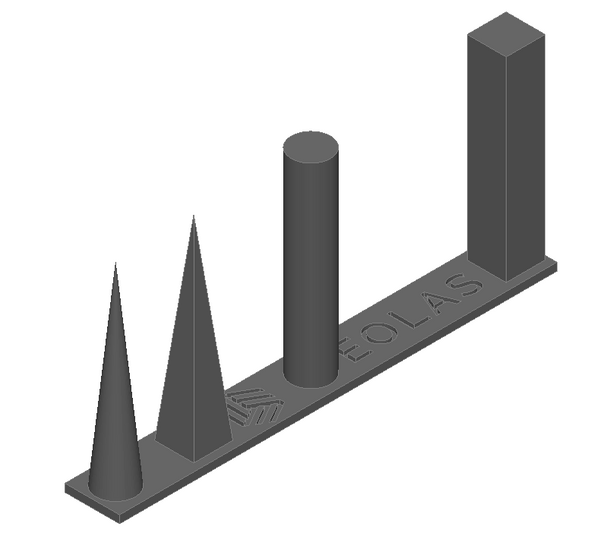
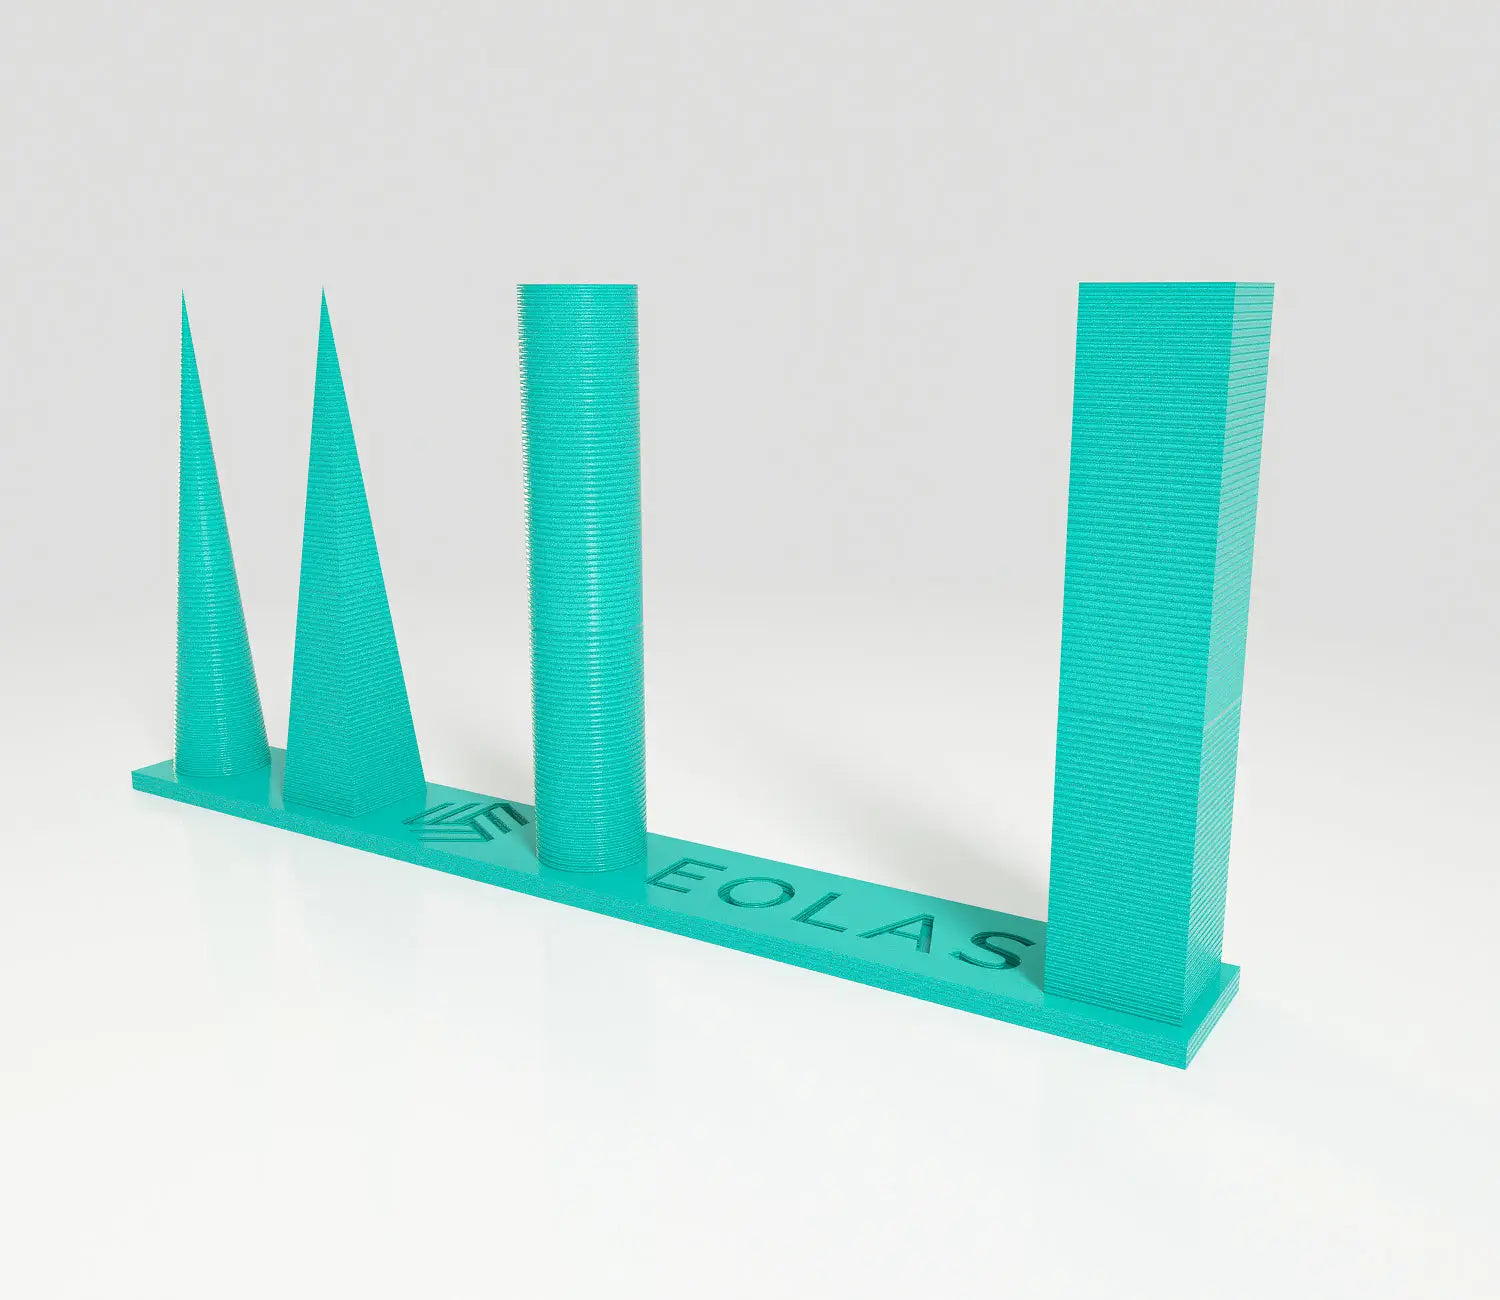
With the finished part, we observe the amount of "hairs" that have been generated between the different shapes (next image). Next, we adjust the retraction distance:

We print the part again using the new retraction data and check. Next, we repeat this iteration several times until there is no stringing between the shapes of the part and the retraction values are as conservative as possible (the lower the better).
In the following example, after several iterations with a Prusa MK3S the following retraction parameters have been obtained: 35mm/s and 0.9mm with a temperature of 205 degrees and a nozzle of 0.4mm.
Retraction is when the extruder briefly pulls the filament back during a travel move (when the nozzle moves without printing). This relieves pressure in the nozzle so molten plastic doesn't ooze out and leave stringing between parts of the print.
It depends on your extruder type. Bowden setups typically need more (around 4mm to start) because of the long PTFE tube, while direct drive needs much less (around 1mm). Start from those values and tune down to the smallest distance that still prints cleanly.
Stringing is usually a combination of wet filament, too-high temperature, and insufficient retraction. Dry the filament first, set temperature from a temperature tower, then calibrate retraction distance and speed with this test. Lower temperatures and adequate retraction are the biggest levers.
After. Temperature and flow both affect how much the material strings, so calibrate those first (temperature tower, then flow test), and run the retraction test last using those settings.
About the author
Sergio Peciña is a qualified Electrical & Electronics Engineer and Eolas Prints' Technical Design Engineer, with over 10 years of experience in 3D printing. He founded the maker spaces at the University of La Rioja and IDIVAL Santander. Every Eolas Prints filament is manufactured in-house in Cantabria, Spain, to ISO 9001 and ISO 14001 standards.
Clean retraction starts with consistent filament: shop PLA | PETG — ±0.05 mm tolerance, made in Spain. See more calibration guides in our troubleshooting & calibration hub.


